Creating a RAG chatbot with Supabase, OpenAI, Python & Langchain

Interested in Python🐍 C++🤓 UI/UX 🌸 Web Development✨
Introduction
Imagine a chatbot customized to your needs, answering questions, and perhaps even telling tales of how the Developer Hero fought off the Bug Monster. Sounds interesting? If so, then you're at the right place!
Today, we're gonna create a chatbot that's not just a conversational wizard specified to the field of biology and health, but a customizable buddy too! The best part? You get to shape it in any way your imagination desires. The possibilities are as boundless as your creativity ;)
We will be implementing it with Supabase, Langchain, OpenAI, and Python.
Wanna know how? Read on ;)
1) Supabase Setup
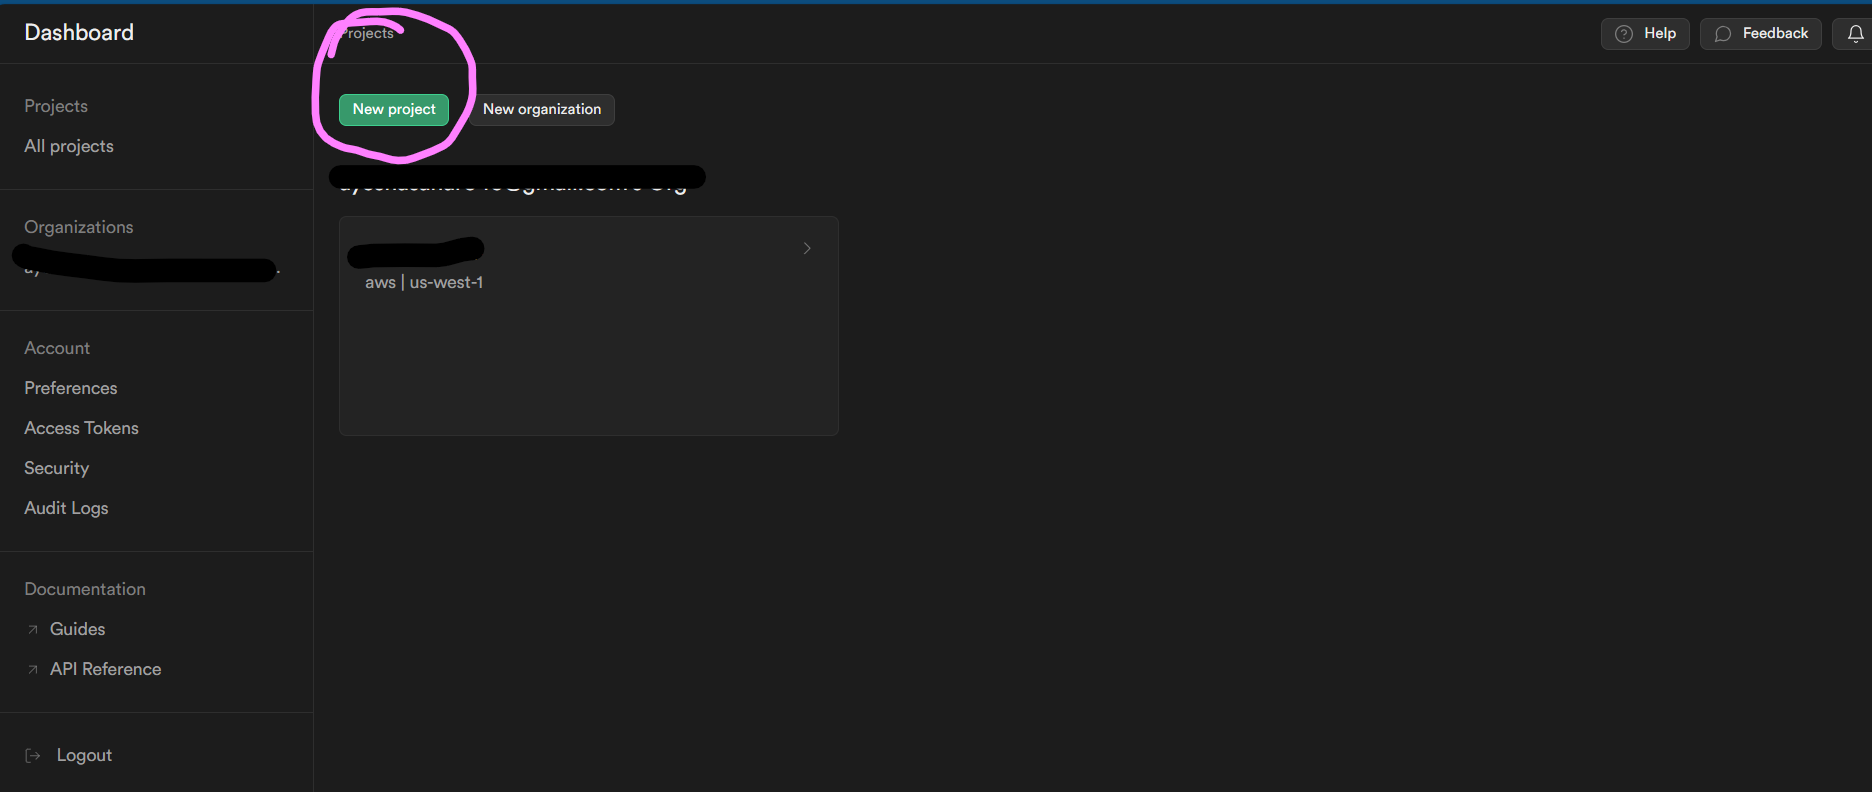
Let's start with setting up Supabase. Login or create your Supabase account. Then click on New Project as shown below:
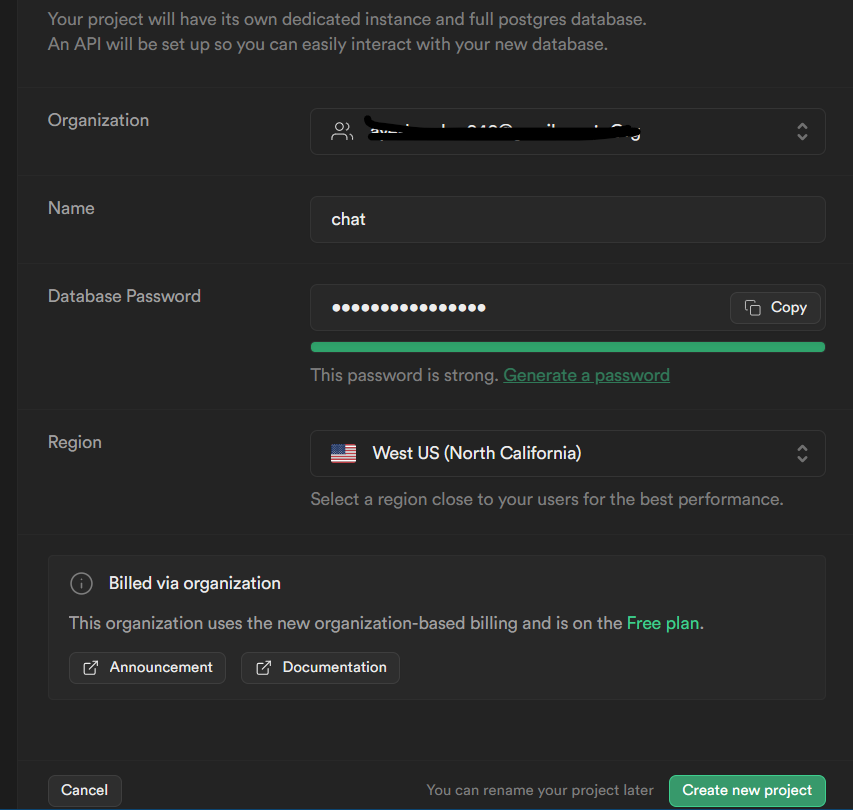
Then setup your project. Copy your database password as you might need it in the future and just choose the region closest to you. I just left that as default. Then click on "Create new project".
You will then see this screen after a few seconds:
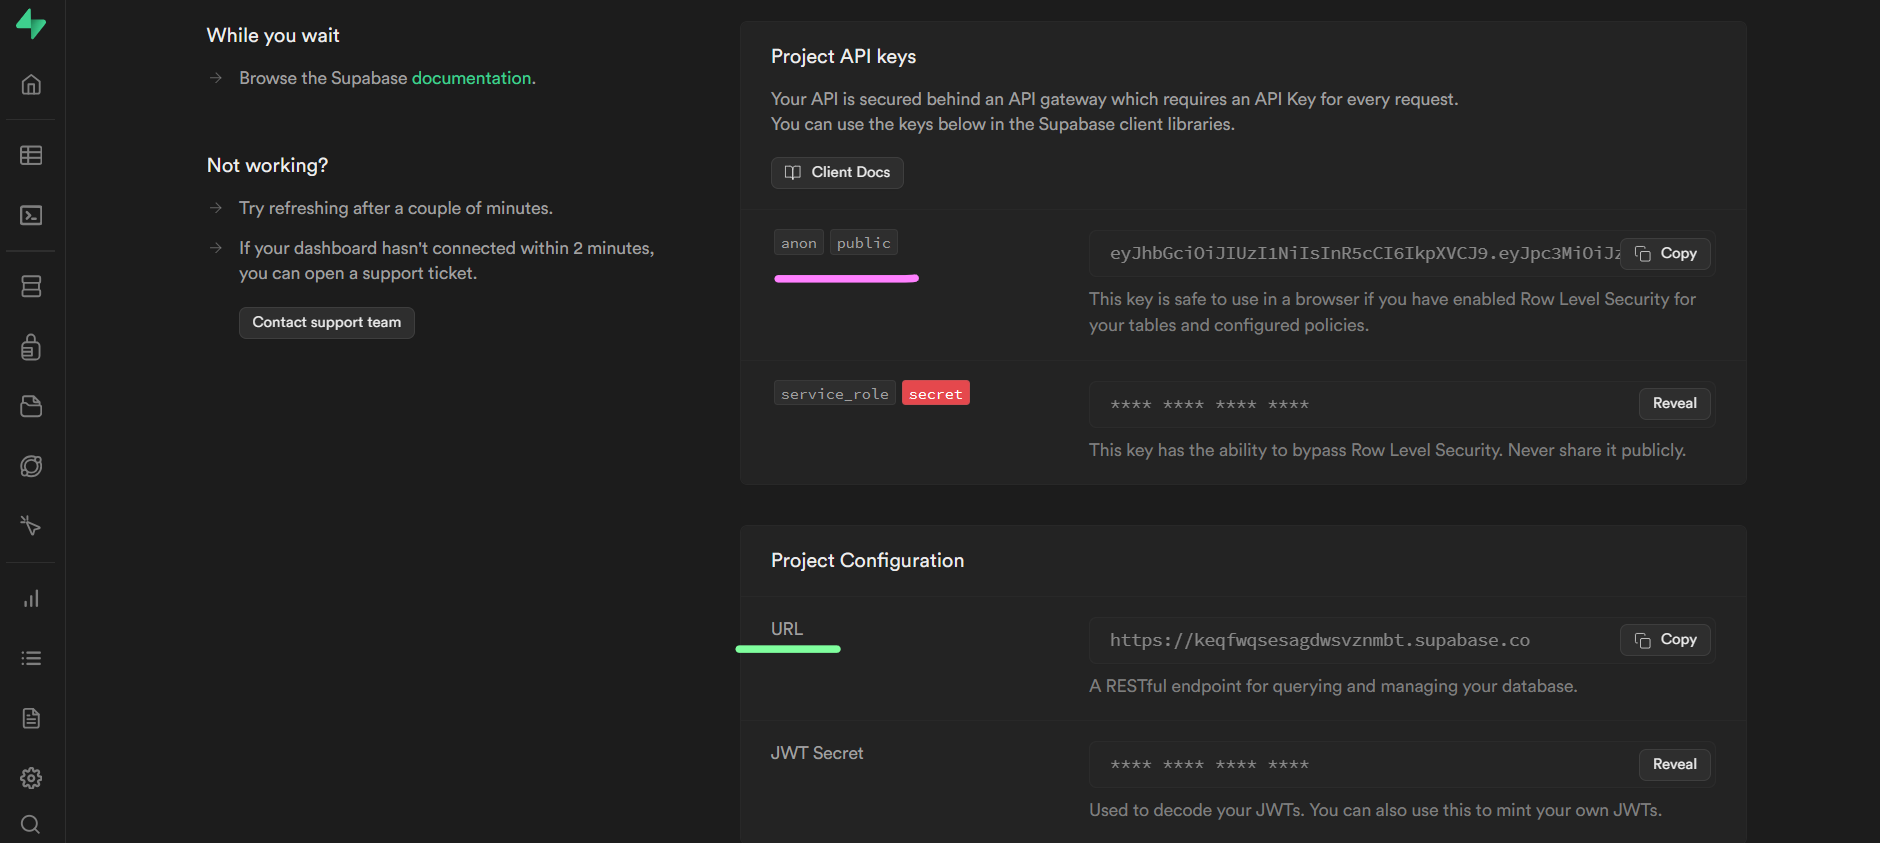
From above, copy the anon key and the project URL as we'll set them up in our .env file.
2) OpenAI Setup
Disclaimer: The OpenAI key cannot be used for free, except for eligible new users who may receive a limited amount of $5 worth of credits. That is for exploring OpenAI services within the specified usage limits. Any usage beyond the allocated credits may result in additional charges.
Now, login to your openai account and then select API from below:
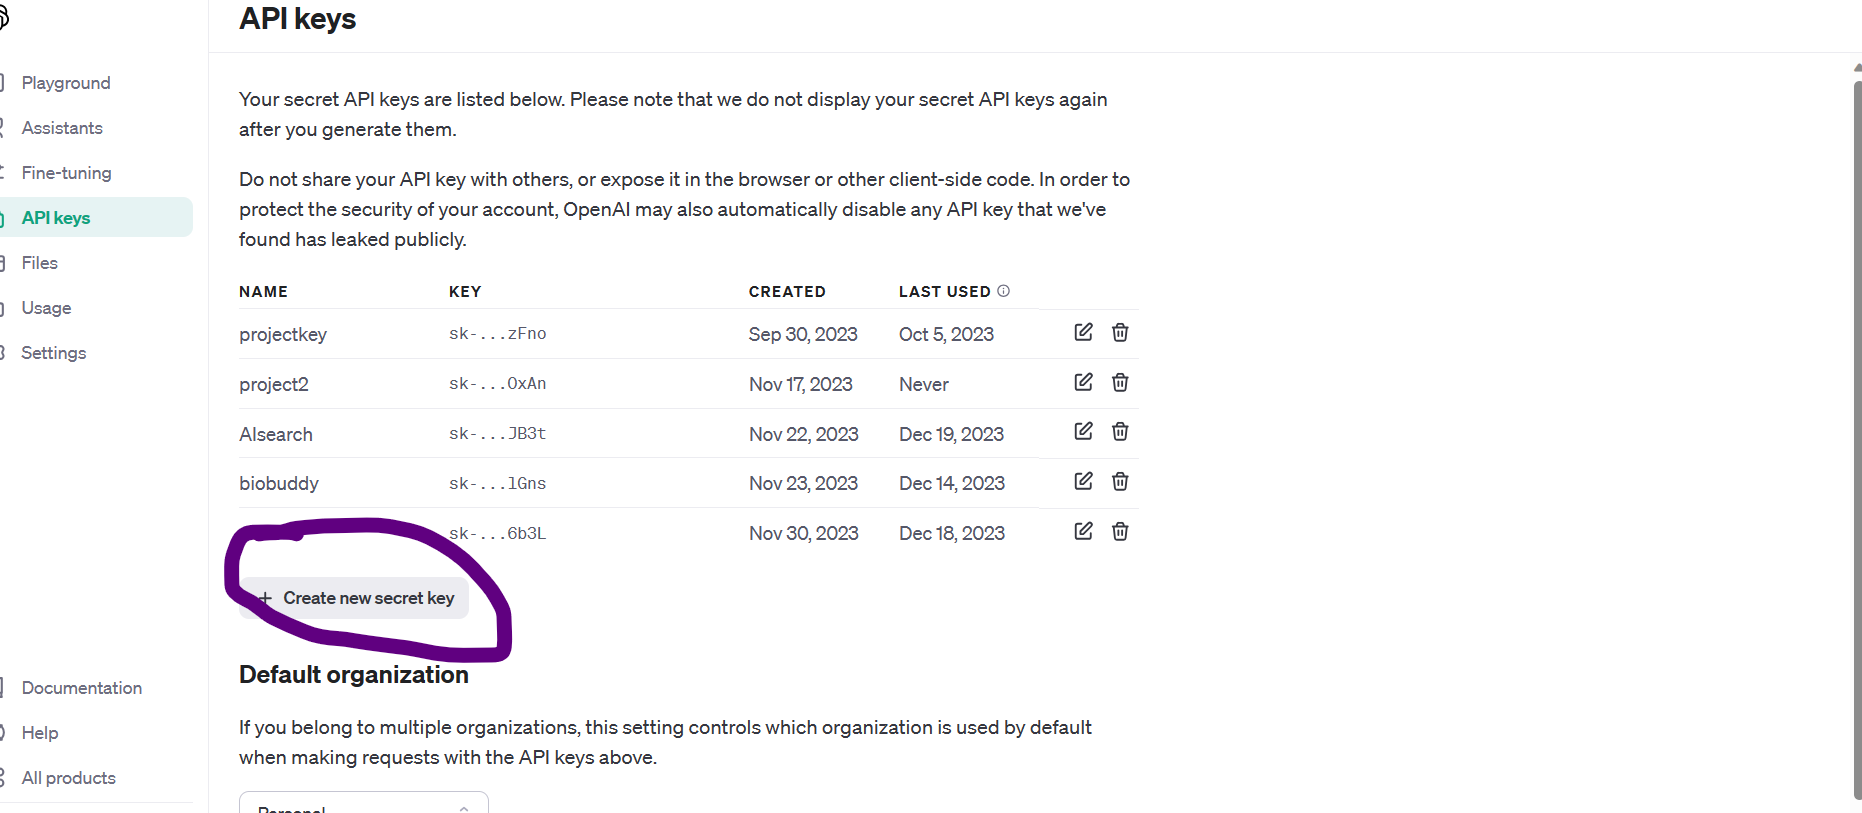
Then we select API keys, as shown below:

Now, click on the "create new secret key" button as shown below:
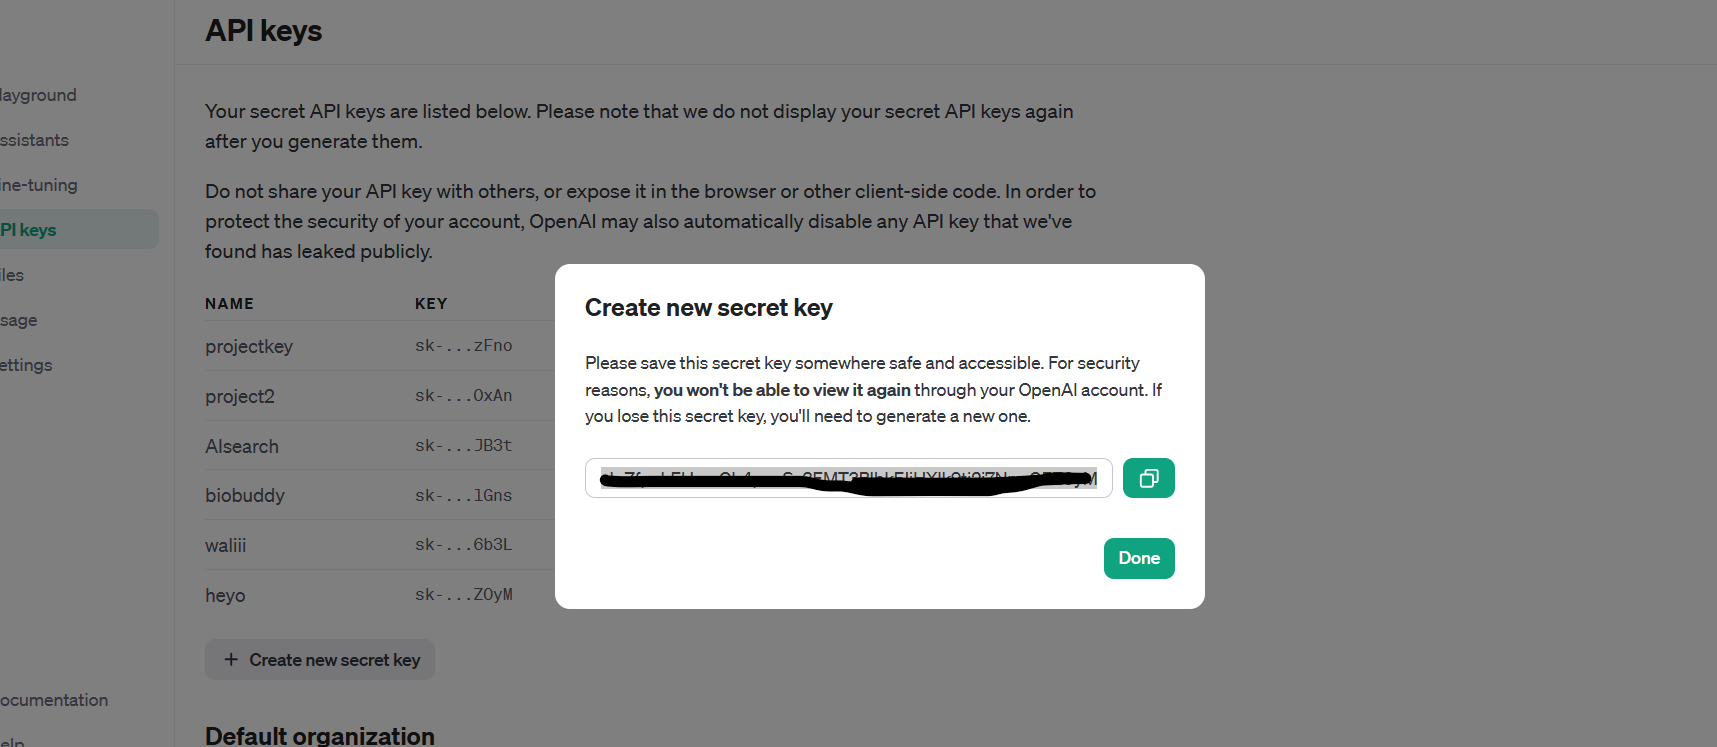
Just copy your secret key now as you won't be able to do that later on:
3) .env Setup
Here is how your .env file should look like:
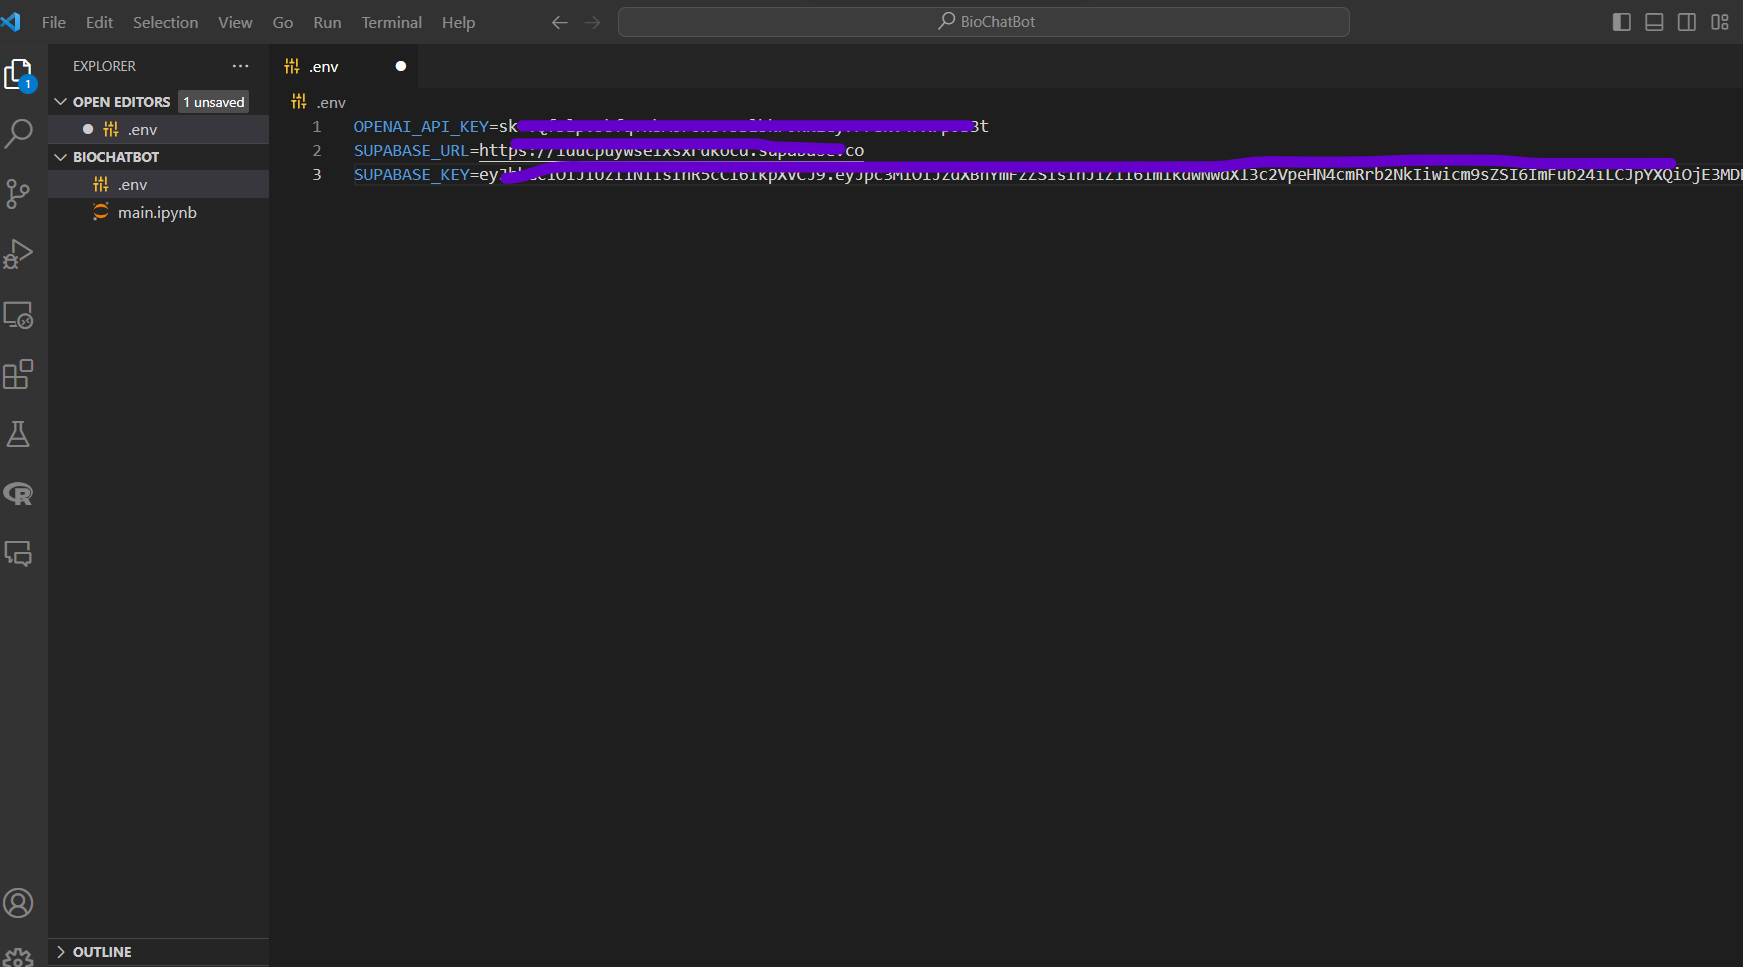
For convenience purposes, just copy the variable names from below:
OPENAI_API_KEY=
SUPABASE_URL=
SUPABASE_KEY=
4) Creating Documents Table in Supabase
Before working on our main code, we need a table where we can upload our data in the form of embeddings. Here comes Supabase's time to shine😉
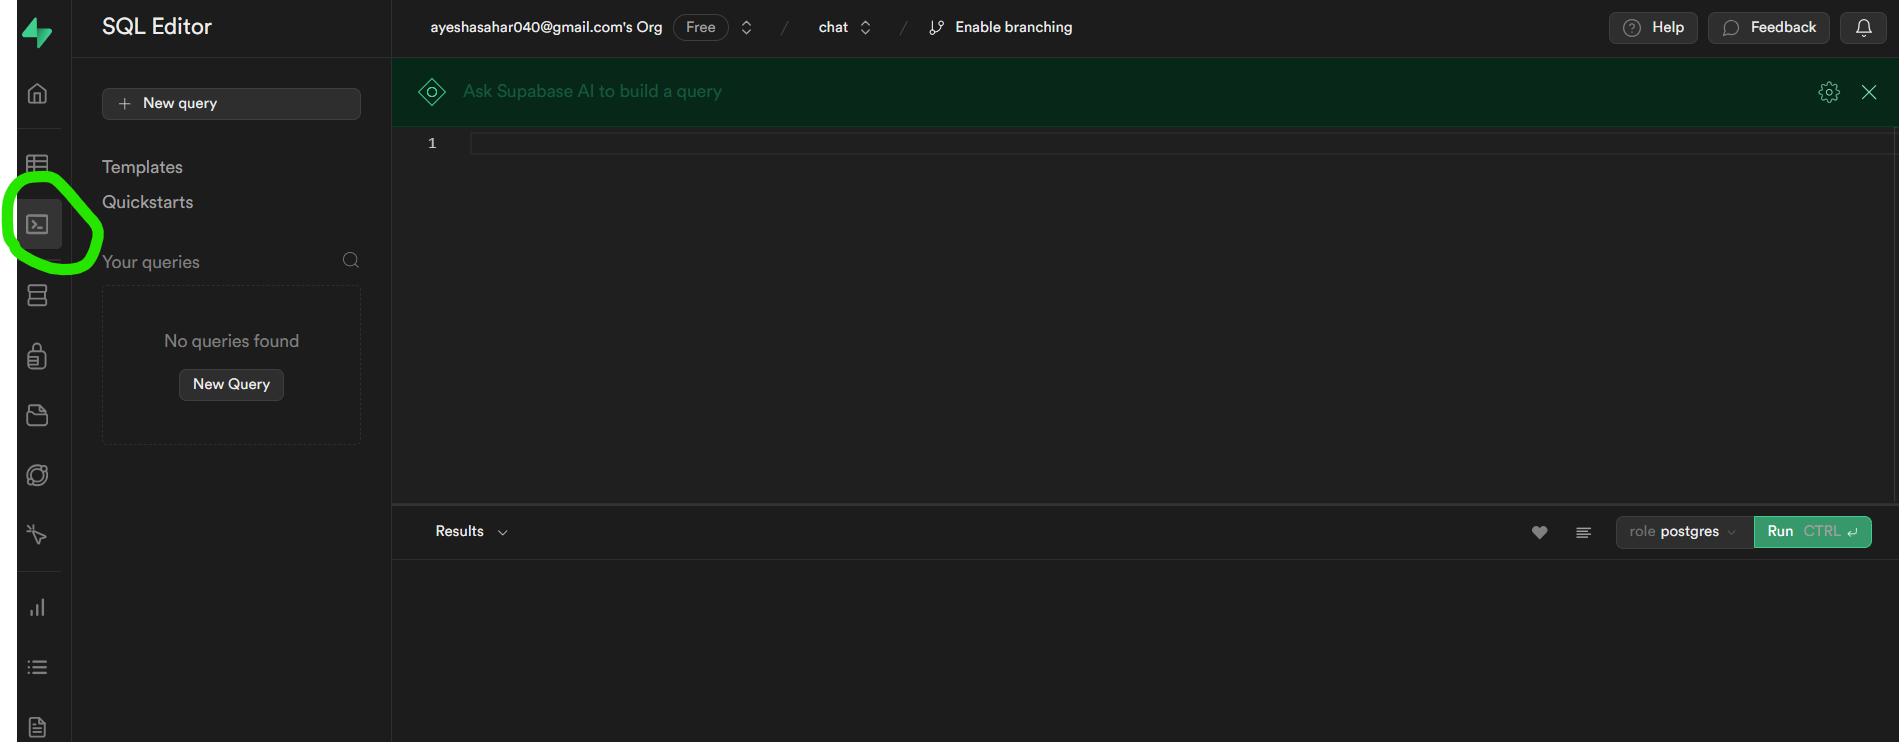
Open the project you created and select "SQL Editor":
We'll start by enabling vector extension:
create extension if not exists vector;
Then we will create a table to store our documents:
create table
  documents (
    id uuid primary key,
    content text,
    metadata jsonb,
    embedding vector (1536)
  );
For searching through our created knowledgebase, we're gonna need a function:
create or replace function match_documents (
  query_embedding vector (1536),
  filter jsonb default '{}'
) returns table (
  id uuid,
  content text,
  metadata jsonb,
  similarity float
) language plpgsql as $$
#variable_conflict use_column
begin
  return query
  select
    id,
    content,
    metadata,
    1 - (documents.embedding <=> query_embedding) as similarity
  from documents
  where metadata @> filter
  order by documents.embedding <=> query_embedding;
end;
$$;
Let's go through the above function together ;)
The function named
match_documentstakes two parameters:query_embedding: A vector of size 1536, representing the embedding of a query document.filter: A JSONB parameter (defaulting to an empty JSON object) used for filtering documents based on metadata.
The function returns a table with columns
id,content,metadata, andsimilarity(a float representing the similarity between the query and each document).The function calculates the similarity between the query embedding and each document's embedding using the
<=>operator, which is specific to the "vector" extension.The
whereclause filters documents based on metadata using the@>operator.The results are ordered by the similarity in ascending order.
After you click on run, you should get "success, no rows returned":

And your table should look like this:
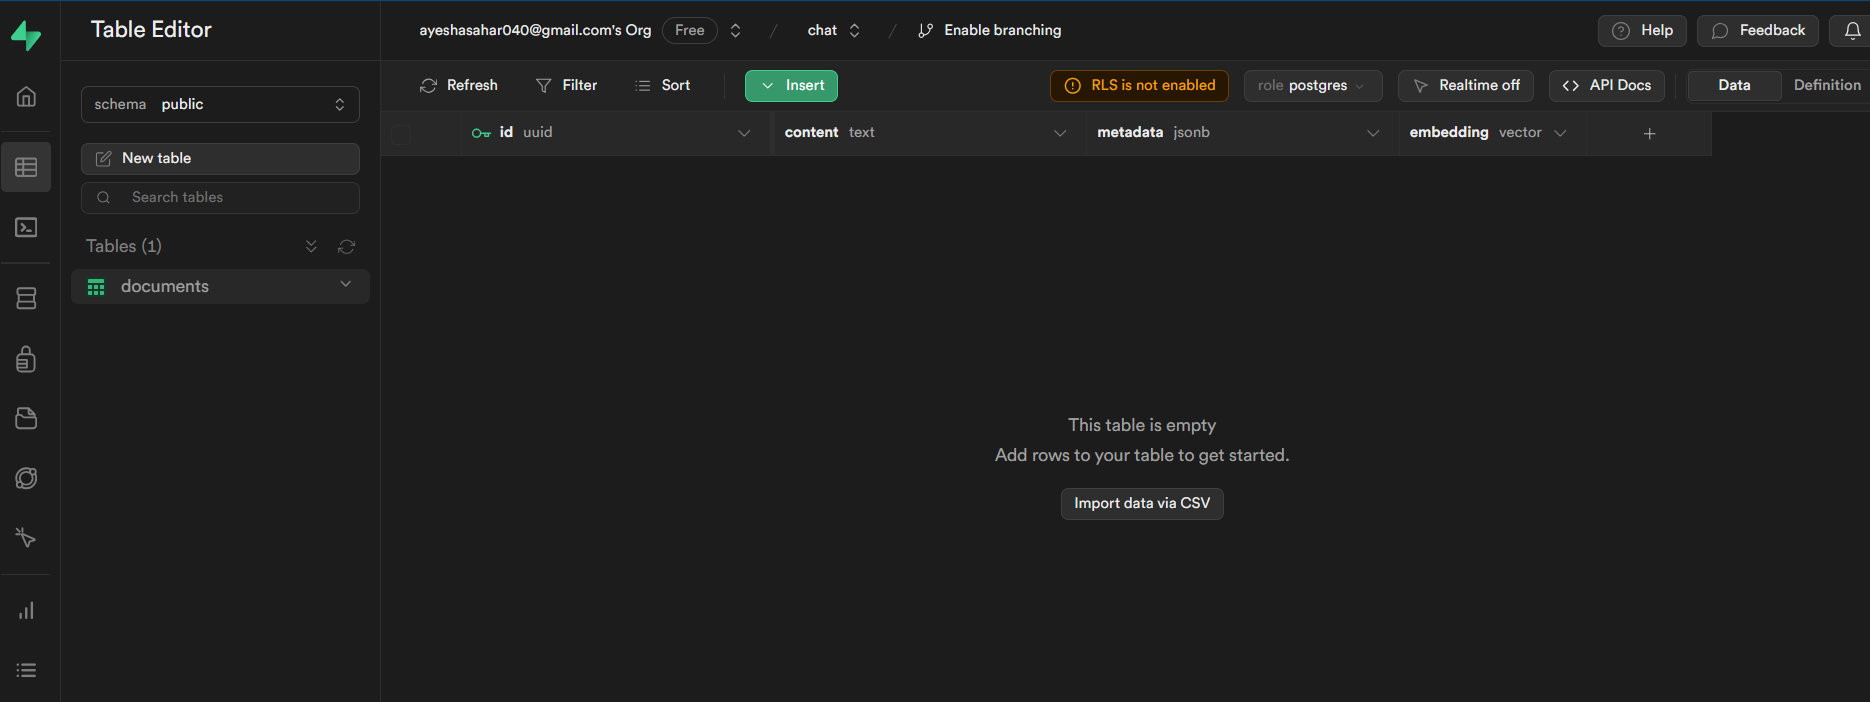
Now we're all set to add data to our knowledge base and chat with it!
5) Upload Documents as Embeddings
Let's just install whatever we need before going onto the coding part:
%pip install python-dotenv
%pip install openai
%pip install langchain
%pip install supabase
%pip install tiktoken
%pip install pypdf
Now, let's import what's needed:
import os
import openai
from supabase.client import Client, create_client
from langchain.embeddings.openai import OpenAIEmbeddings
from langchain.vectorstores import SupabaseVectorStore
from langchain.text_splitter import CharacterTextSplitter
from langchain.document_loaders import PyPDFLoader
from dotenv import load_dotenv, find_dotenv
_ = load_dotenv(find_dotenv())
Then we will load the environment variables and initialize the Supabase Client:
openai.api_key = os.environ['OPENAI_API_KEY']
supabase_url = os.environ['SUPABASE_URL']
supabase_key = os.environ['SUPABASE_KEY']

supabase: Client = create_client(supabase_url, supabase_key)
Now, we will load the document (pdf in this case)we want to store as embeddings in the knowledge base:
# add your file name with the path
loader = PyPDFLoader("./Bioinformatics_for_Beginners.pdf")
documents = loader.load()
Then we have to split the document into chunks. We will use a text splitter to divide the loaded documents into chunks of text, where each chunk is 1000 characters long with a 200-character overlap. You can set the chunk size and overlap according to your need:
text_splitter = CharacterTextSplitter(chunk_size=1000, chunk_overlap=200)
docs = text_splitter.split_documents(documents)
Then we initialize OpenAIEmbeddings for generating vector embeddings for the text chunks:
embeddings = OpenAIEmbeddings()
We can finally upload the document in the form of embeddings in Supabase:
vector_store = SupabaseVectorStore.from_documents(docs, embeddings, client=supabase, table_name="documents", query_name="match_documents")
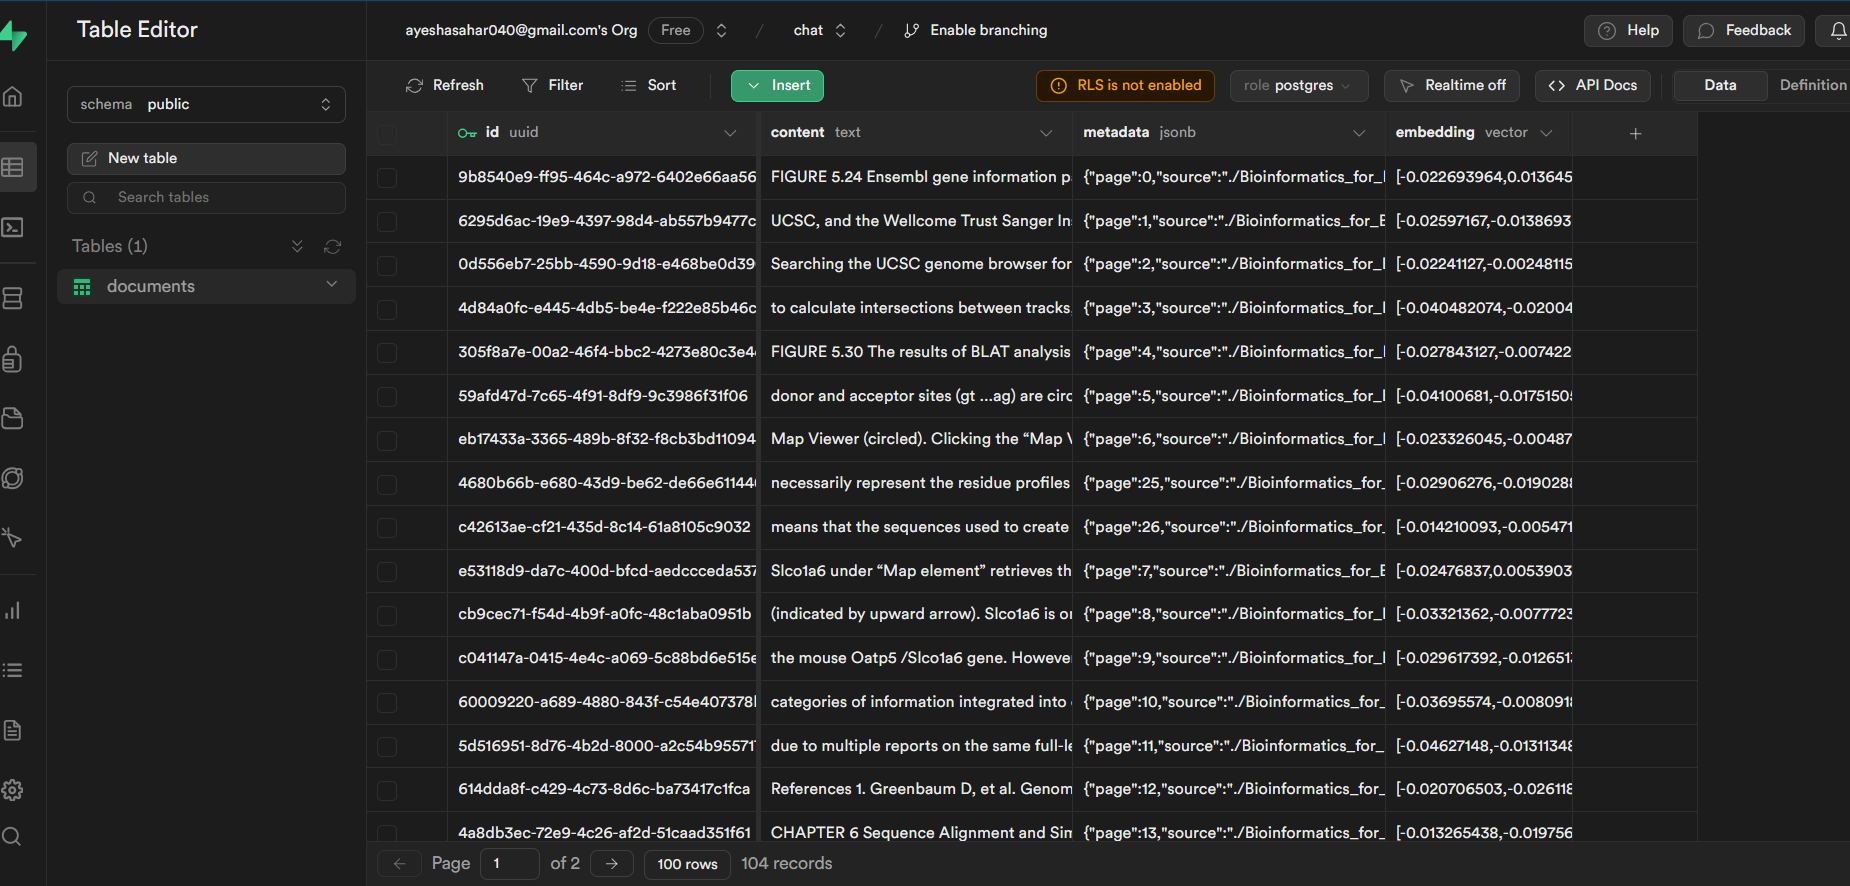
This is how the table looks after being populated with the embedding data:
6) Chat
Let's allow the user to input their query:
user_query = input("Enter your query: ")
The user's query is then processed using the similarity_search method of the vector_store object. This method finds documents that are similar to the user's query. The content of the matched documents is then extracted and joined with double newline characters ("\n\n") into a string named injected_docs.
matched_docs = vector_store.similarity_search(user_query)
injected_docs = "\n\n".join([doc.page_content for doc in matched_docs])
We then have completion_messages, which is a list of messages used as input for the chat completion. It includes a system message, the user's query, and the injected documents. If you look carefully, you might see magic down there ;)
completion_messages = [
    {
        "role": "system",
        "content": "You are an AI assistant with unparalleled expertise in bioinformatics and biology, possessing a profound understanding of the intricacies of life sciences. Your primary task is to provide answers about biology, bioinformatics, and health-related topics using the documents provided below. You can comprehend and interpret information from any language. If a query is not addressed by these documents, you will utilize your extensive knowledge in bioinformatics and biology to provide accurate answers. Additionally, if users provide symptoms, you are equipped to suggest potential health conditions based on your understanding of bioinformatics and biology. Keep your responses concise and focused on the topics of biology, bioinformatics, and health."
    },
    {
        "role": "user",
        "content": user_query,
    },
    {
        "role": "assistant",
        "content": injected_docs,
    },
]
The "system" message serves as an introduction to the AI assistant's capabilities and expertise. It sets the context for the user, informing them about the assistant's proficiency in bioinformatics and biology.
It defines the primary task of the AI assistant, providing answers on biology, bioinformatics, and health-related topics using the provided documents.
The message explains that if a user's query is not addressed by the provided documents, the assistant will leverage its extensive knowledge in bioinformatics and biology to provide accurate answers. This reassures the user that the assistant is not solely dependent on the document data.
The message advises the assistant to keep responses concise and focused on the specified topics of biology, bioinformatics, and health.
So, even if you don't want to create a biology-related chatbot, just change the content to whatever you want, and boom, you get your custom chatbot! Cool, isn't it?
Finally, a request is made to OpenAI's API for generating a chat completion using the GPT-3.5-turbo model. Parameters like max_tokens and temperature influence the response. The temperature parameter specifically controls the randomness of the generated text. A higher temperature, such as 0.8 or 1.0, increases randomness and introduces more diversity in the response, often resulting in more creative and varied outputs. On the other hand, a lower temperature, like 0.2 or 0.5, makes the output more focused and deterministic, following patterns observed in the training data. Therefore, while it's accurate to say that higher temperature values can lead to more creative responses, it's essential to note that extremely high values might introduce incoherence or randomness that could affect the overall quality of the generated text.
response = openai.ChatCompletion.create(
    model="gpt-3.5-turbo-0613",
    messages=completion_messages,
    max_tokens=400,
    temperature=0.4,
)

print("Assistant's Response:")
print(response['choices'][0]['message']['content'])
7) RAG
I dunno if you guys know about it or not, but what we implemented so far is a system that follows the Retrieval-Augmented Generation (RAG) approach. The RAG model, developed by Facebook AI, combines elements of retrieval-based and generation-based models to create a more powerful and flexible system for natural language understanding and generation.
We used a vector store (SupabaseVectorStore) to store vector embeddings of documents, allowing for efficient retrieval of relevant documents based on user queries.
The
similarity_searchfunction retrieves documents from the vector store that are similar to the user's query.We used OpenAI's GPT-3.5-turbo for the generation part, where the assistant processes the user's query and generates a coherent and contextually relevant response.
Conclusion
Now, I might have promised to connect it to the frontend as well. But, alas, time is as elusive as a bug in your first line of code :/
You guys can convert this Python code into a FASTAPI and use it with your frontend. If I have some free time, I'll write another article soon in which I'll share how to create a FASTAPI for this code and connect it with a NEXT.js frontend and also implement Supabase auth. For now, picture this as a cliffhanger, a teaser trailer of what's to come. Until then, may your bugs be minimal, your creativity boundless, and your code, a work of art!
I hope that you guys found this article useful ;)
Let's connect!
✨ Github